+
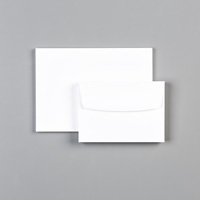
ONE package of Whisper White Note Cards & Envelopes
=
TWENTY beautiful All Occasion Note Cards
I turned to the one sheet wonder idea, but to my knowledge it had never been done with note cards (card fronts that measure 3-1/2" x 5" in size). Soooo, I decided to create my own pattern. As the pattern evolved I realized that I could get twenty pieces out of the paper, the EXACT number of cards in a package of Whisper White Note Cards & Envelopes. What a BRILLIANT coincidence!!
In my above video, I will show you exactly how to cut the designer series paper and create the 5 card designs (four of each). If you are a beginner, then I hope this video will make it easy to stamp a beautiful stack of cards. If you are an advanced stamper, jump down to my diagram and written instructions below. These cards are easy to make and in no time you will have a stack of twenty cards completed.
If you need any of the supplies to make these cards, they are available for purchase HERE! I reward my customers with a FREE TUTORIAL every time they purchase from me (see HERE)!
Cutting Instructions
(see video for more details)
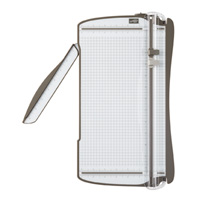
- Start with a 12” x 12” piece of Designer Series Paper. Choose a paper with several colors and a consistent overall pattern. Cut at the 10” mark. You will now have a 2” x 12” piece (set aside) and a 10” x 12” piece.
- Turn the 10” x 12” piece so that the 12” side is at the top of cutter. Cut at the 3-1/2” mark. Then slide the piece over and cut at the 3-1/2” mark again. You will now have ONE 5” x 10” piece (set aside) and TWO 3-1/2” x 10” pieces (set one aside).
- Take one of the 3-1/2” x 10 pieces and place the 10” side at the top of the cutter. Cut at the 5” mark. You will now have TWO 5” x 3-1/2” pieces. Cut both of these pieces on the diagonal. You will now have FOUR diagonal pieces for your cards (see pieces 1a, 1b, 1c, 1d in diagram)
- Take the second 3-1/2” x 10 piece and place the 10” side at the top of the cutter. Cut into FOUR 2-1/2” segments. You will now have FOUR 2-1/2” x 3-1/2” pieces for your cards (see pieces 2a, 2b, 2c, 2d).
- Take the 5” x 10” piece (from step 2) of and place the 10” side at the top of the cutter. Cut into EIGHT 1-1/4” segments. You will now have EIGHT 1-1/4” x 5” pieces for your cards (see pieces 3a, 3b, 3c, 3d, 4a, 4b, 4c, 4d).
- Take the 2” x 12” piece (from step 1) and place the 12” side at the top of the cutter. Cut into FOUR 3” segments. You will now have FOUR 3” x 2” segments for your cards (see pieces 5a, 5b, 5c, 5d)
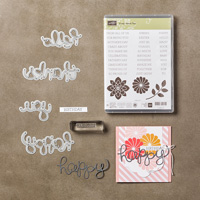
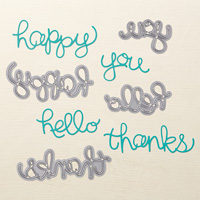
Stampin’ Up! Supplies
click on the product for price and details






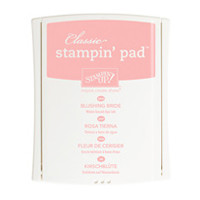
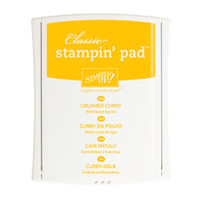


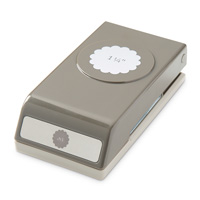
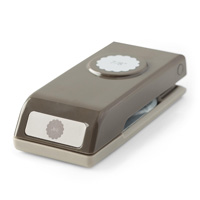


Beautiful and brilliant! Now I have to make these!
ReplyDeleteHi Brenda,
ReplyDeleteI am often inspired by you. This is a brilliant way to show how SU products work so beautifully together. Thanks so much for sharing this beautiful project.
Oh Brenda! What a genius project! I love them - you are always so inspiring! Dang it, now I have top start getting the notecards, too! Thanks so much for sharing your creativity with us!
ReplyDeletebrenda i love your projects and im guessing you like bees if so we have something else in common as i love bees[i also love stampin up]products and watching you on you tube
ReplyDeleteThanks Lavinia!! I do like bees. The 'B' in my name originally came from my initials, as did the 'Q'. Then it was just fun to have matching images. :)
DeleteLovely cards. TFS!
ReplyDeleteThank you so much for this tutorial! I used it today to make 20 notecards. I did add some matting, little extra bits of cardstock, and stamped the cards with the small splatter stamp from Gorgeous Grunge to add some more color to the cards I made. I am so happy with them! This is such a great tutorial, and I will definitely be using it again. Thank you for taking the time to come up with it, create the cards, do the video, and share. I appreciate your hard work! My husband is also impressed that I got 20 cards done today. ha!ha!
ReplyDeleteThank you, Dee!! Your comment has put a smile on my face. I'm so glad you liked the tutorial. If you're on Facebook, I would love to see a photo of your cards. Here is the link: https://www.facebook.com/groups/BeeStampingWithQbee/
ReplyDelete