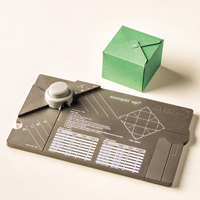
Make the following boxes with the Gift Box Punch Board:
- 2.5" x 2.5" x 1.75" Basic Black Box for the hat
- 2.5" x 2.5" x 2.5" Whisper White Box for the head
- 3.25" x 3.25" x 3.25" Whisper White Box for the middle
- 4" x 4" x 4" Whisper White Box for the bottom
If you need help making the boxes, please see my tutorial on how to use the Gift Box Punch Board here:
Snowman Pieces Quick Reference:
Hat Brim: One Basic Black Circle cut with the 4" Circle Framelit.
Scarf: One 18" length of Cherry Cobbler Chevron Ribbon, frayed on both ends.
Eyes: Two Whisper White Circles punched with the 3/4" Circle Punch.
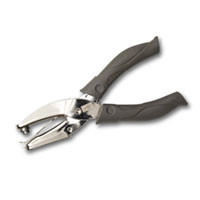
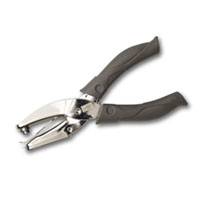
Pupils: Two Basic Black Circles punched with the Handheld 1/4" Circle Punch.
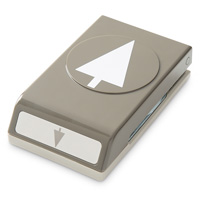
Nose: One Pumpkin Pie Triangle punched with half of the Tree Punch.
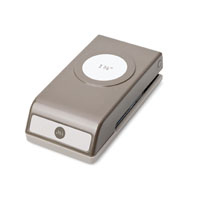
Mouth: One Basic Black Crescent punched with the 1-3/8" Circle Punch.
Arms: One 11" x 1" Soft Suede Card Stock Strip, scored at the 1/2" mark on the short size. Cut along the score line 2-1/2" in on both sides and then taper with scissors.
Buttons: Two Cherry Cobbler Buttons using the handheld 1/8" Circle Punch and the 3/4" circle punch.
Boots: One Basic Black Circle punched with the 1-3/8" Circle Punch and cut in half.
Stampin’ Up! Supplies
click on the product for price and details








Awww that's so sweet!
ReplyDelete