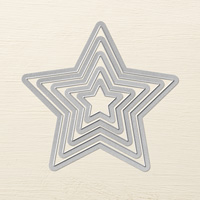
I'm so excited to share my latest creation with you: Star Framelits Ornaments. I have had a blast making various stars over the last few days using vellum, designer series paper, glimmer paper, foil paper and card stock. The main ingredient in these FABulous ornaments are stars cut with the stars framelits AND I'm sharing a video tutorial on how to make them below.
Making these stars is not difficult, but I show the assembly process from start to finish in the video tutorial ABOVE, so that even beginners can make one of these beautiful ornaments.
Materials Guide
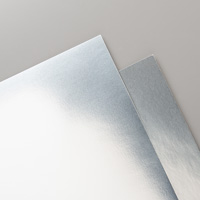
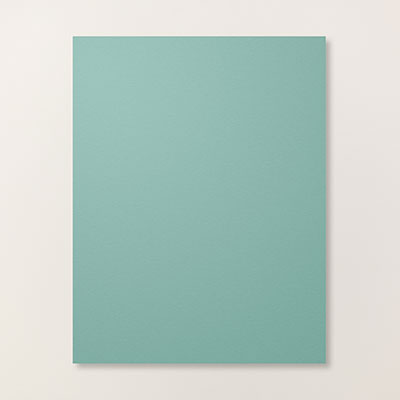
Card Stock, Brushed Silver and similar weight
Score Star Points (see photo above)
Adhesive: Tombow
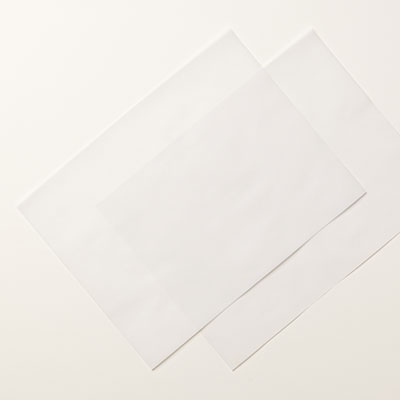
Designer Series Paper, Vellum, and Foil Paper
Fold Star Points
Adhesive: Tombow
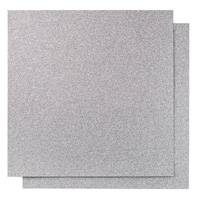
Glimmer paper
Fold star Points
Adhesive: Use Glue dots or sticky strip. The shiny backing on the glimmer paper makes using Tombow nearly impossible.
Size and Cutting Guide
TIP: To making cutting faster, cut two sheets of card stock at one time.
The largest star
makes a 7” orb
Need 3 sheets of card stock, cut into 8-½” x 5-½” pieces, Cut 2 stars out of each piece.
The 4th largest star
makes a 6” orb
Need 2 sheets of card stock, cut into 11” x 4-¼” pieces. Cut 3 stars out of each piece.
The middle star
makes a 4-½” orb
Need 1 -1/3” sheets of card stock, cut into 8-½” x 3-¼” pieces, Cut 6 stars out of each piece.
The 2nd smallest star
makes a 3” orb
Need ¾ sheets of card stock, cut into 8-½” x 2-3/8” pieces, Cut 4 stars out of each piece.
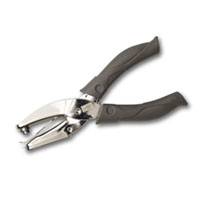
I recommend punching the hole for this star after you have connected the first two pieces. Later it becomes almost impossible and you have to resort to using a piercer.
The smallest star
I don’t recommend making a star ornament out of the smallest star, unless you have some Christmas elves with tiny fingers helping you. The smallest star makes an excellent window when paired with the 4th largest star.
Flameless Candle Holder
Flameless Candle Holder
Need SIX of the 4th largest stars. Use the smallest star to make windows in FIVE of the stars. The one without the window becomes the base.
Stampin’ Up! Supplies
click on the product for price and details
Bee Stamping with Qbee








YOU are STELLAR!!!! Where are you constantly, I might add, coming up with your ideas?! I know there is inspiration all around us but, you really are incredible and create beautiful (and EASY TO FOLLOW) projects! Just beautiful! TFS! :)
ReplyDeleteI LOVE this!!! :-) :-)
ReplyDeleteWhat a fantastic tutorial! You are so generous! Can't wait to try this. The vellum and tea lights - awesome! Thanks so much. Happy Thanksgiving!
ReplyDeleteYour amazing with all your ideas. Love it!!!!
ReplyDeleteMade these with circles- never thought of stars- but they are so much nicer. Tried one immediately, worked out fabulously. Will now start to "mass-produce". lol
ReplyDeleteThanks for the inspiration and the detailed video.
Greetings from Scotland,
Nessie
Brenda, I love these stars! Thank you for the detailed and precise video. I can't imagine trying to follow written directions.
ReplyDeleteThank you for the great tutorial.
ReplyDeleteGreetings from Germany
Anita
You are amazing girl. Thanks for sharing.
ReplyDelete