The new "See Ya Later" stamp set was just begging me to create an alligator and after some tweaking, I think I came up with a "snappy" design. The "Decorative Dots" Embossing Folder provided the perfect nubbly skin and the "Banner Punch" created the snapping teeth. What do these THREE products have in common? With every $50 purchase during Sale-a-bration, you can earn one of these products for FREE (until March 31st, 2014).
Seriously, aren't these alligators just the cutest thing? Wouldn't these guys make a fun birthday invitation or even a birthday card? If you want to know how to make these cute critters, just keep scrolling down for a tutorial. Find out the supplies you'll need and where to get them HERE!
Decorative Dots Embossing Folder Finds
Here are some other great ideas to try with Decorative Dots Embossing Folder...

|
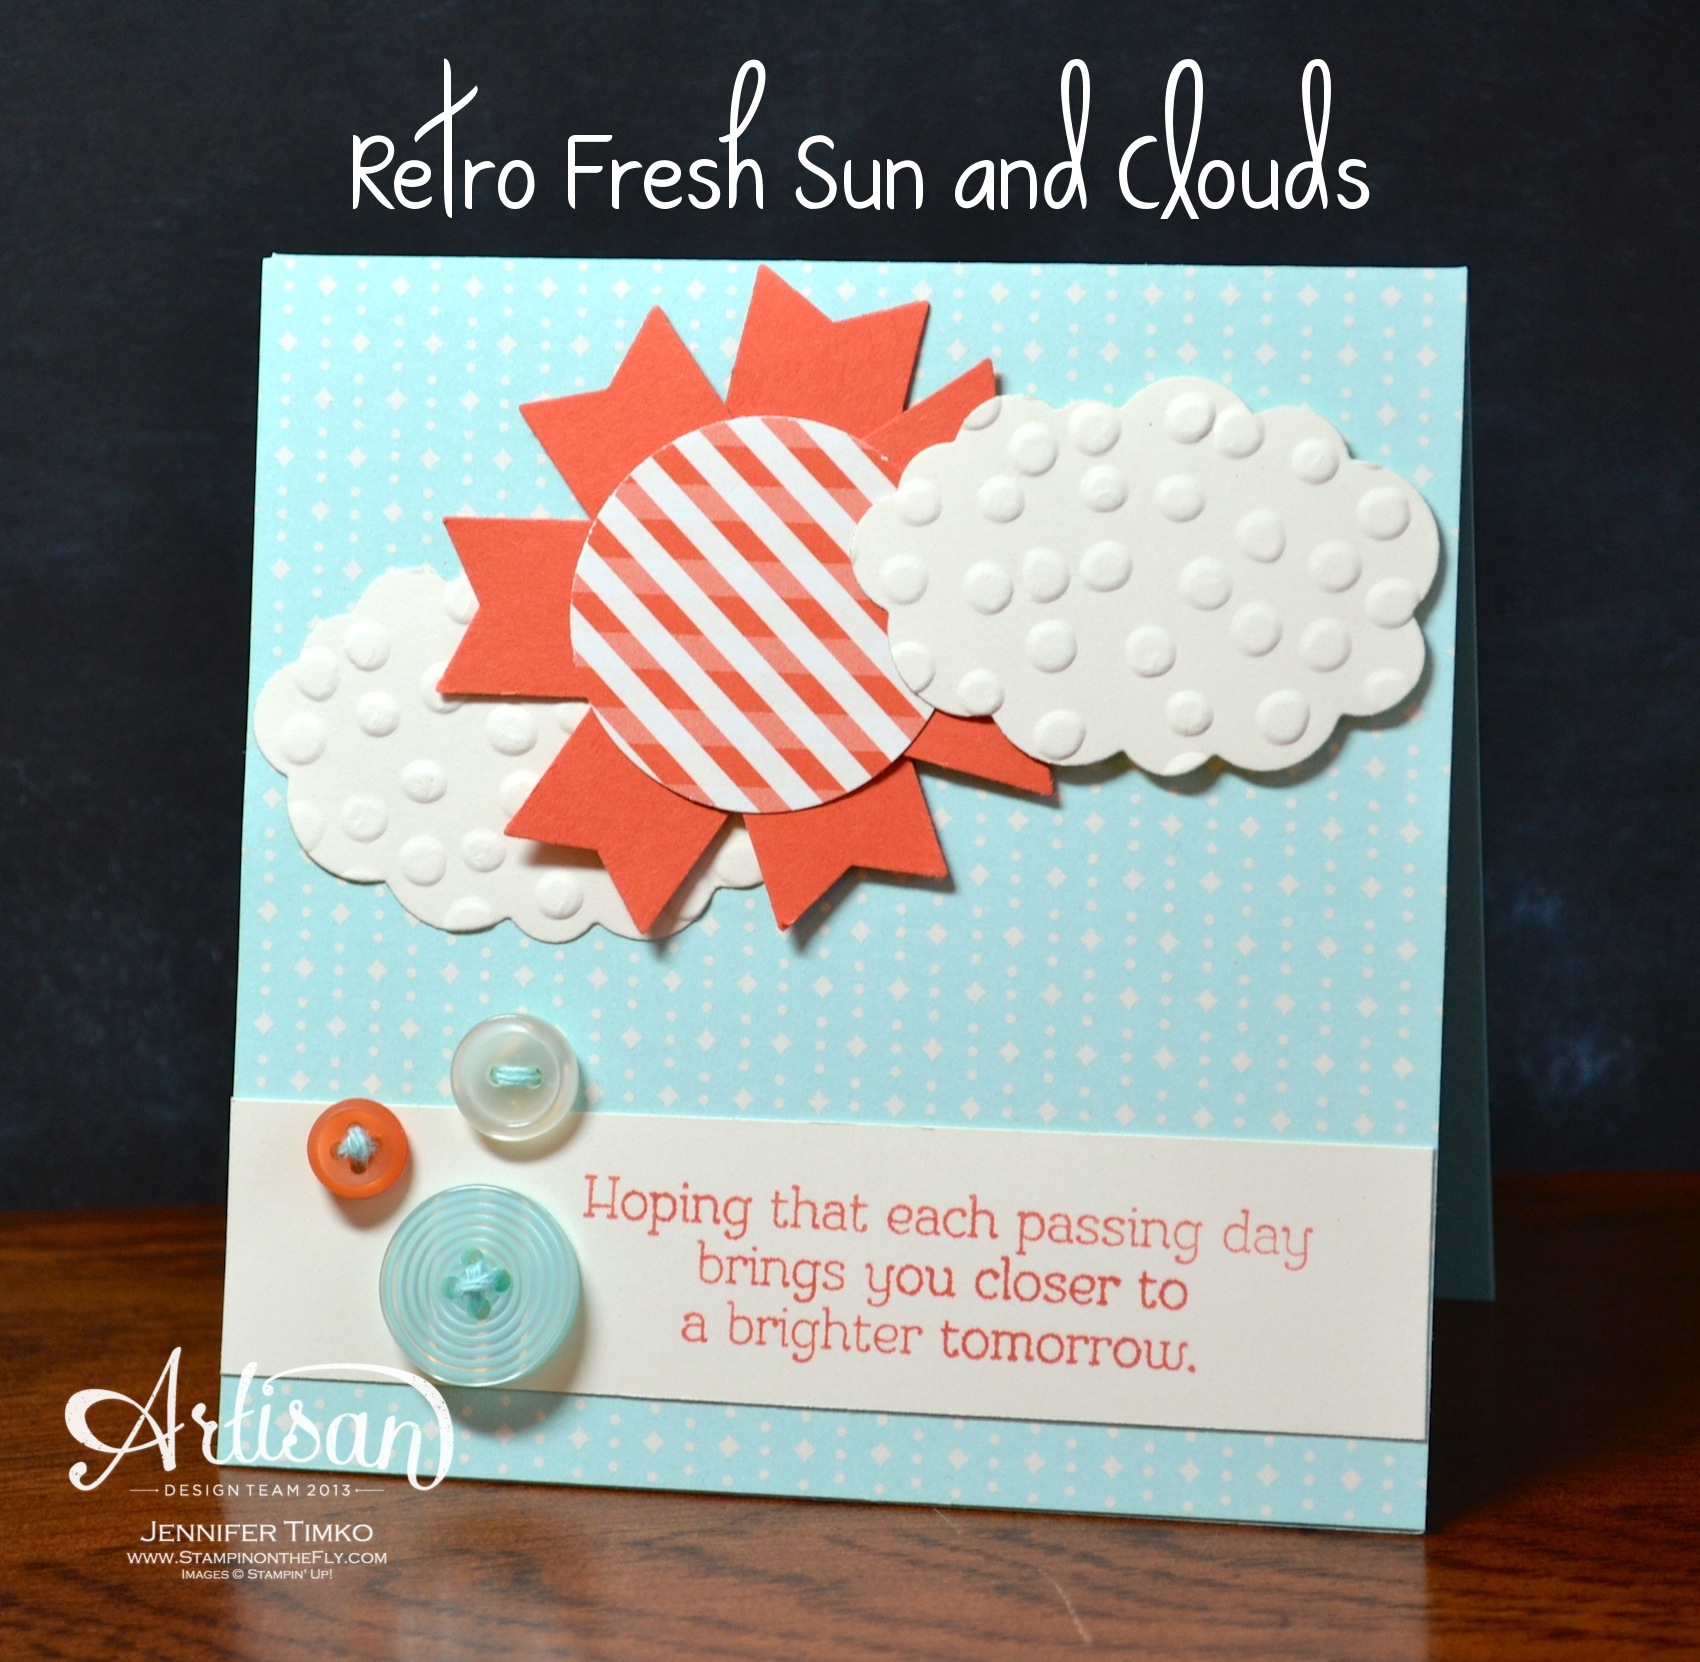
Banner Punch Sun Card
by Jen Timko |

|
Black & White Banner Card
by Kate Benade |

|
Valentine’s Treat
by Amy Storrie |
Alligator Card Tutorial
Start with an 11" x 4" piece of Always Artichoke Card Stock. On the 11" side, score at the 5-1/2" mark. Fold the card stock in half along the score line. Run the card base through the Big Shot with the largest Labels Collection Framelit, making sure to line up the open bottom of the card with the edge of the framelit. Note: Part of the fold (see red arrows) sits slightly inside of the framelit when cut, keeping the fold intact. With the open end of the card stock facing you, cut the Card Base along the lines as indicated, using your Stampin' Trimmer. Here is what the base looks like, once it's cut. Discard the edge pieces. Ink up the inside, logo side of your Decorative Dots Embossing Folder with Always Artichoke ink. Place the card base in the folder and run it through the Big Shot. Punch the following pieces:Stampin’ Up! Supplies
click on the product for price and details
Decorative Dots Embossing Folder*, Small Oval Punch, 1/2 Inch Circle Punch,
Banner Punch*, Stampin' Trimmer
*FREE with $50 order until March 31st, 2014. Click HERE for details.


My goodness this is cute!! Thanks for the shout out too!
ReplyDeleteYou are so very creative….that embossing folder is perfect.
ReplyDeleteSo CUTE! Thanks for a smile on a cold, dark day!
ReplyDeleteThis is great, thanks for sharing.
ReplyDeleteWhat a fun alligator you made Brenda.
ReplyDeleteThank you for the tutorial, my son is going to love this one.
Brenda, you are an amazing creative woman! How do you come up with these things? Sooooooo cute! Thank you for sharing!
ReplyDeleteso cool.
ReplyDeleteGreetings BAstelfeti
Genius! You're a stinkin' GENIUS! Paper manipulator extraordinaire. You continue to amaze me both with your creativity and your generosity. Thank you, Brenda!
ReplyDeleteBrenda! This is just so CUTE! Thanks so much for sharing your talent.
ReplyDeleteHi Brenda, your Alligator is sooooo good.
ReplyDeleteRene from OZ xo
There are so many words for this tutorial. You are so amazing with all your tutorials. Thank you so much for sharing.
ReplyDeleteThis is so cool, little boys would love it.
ReplyDeleteTFS Brenda
I just made up this card - it's one of my all-time favorites! Thanks again for your great tutorial. I've share it with many.
ReplyDeletethis is A-D-O-R-A-B-L-E!! I love it!! Thank you so much for sharing this!
ReplyDeleteSo so cute!
ReplyDeleteThanks so much for sharing this. it's so cute.
ReplyDeleteSoooo Cute; I love this!! TFS!
ReplyDelete